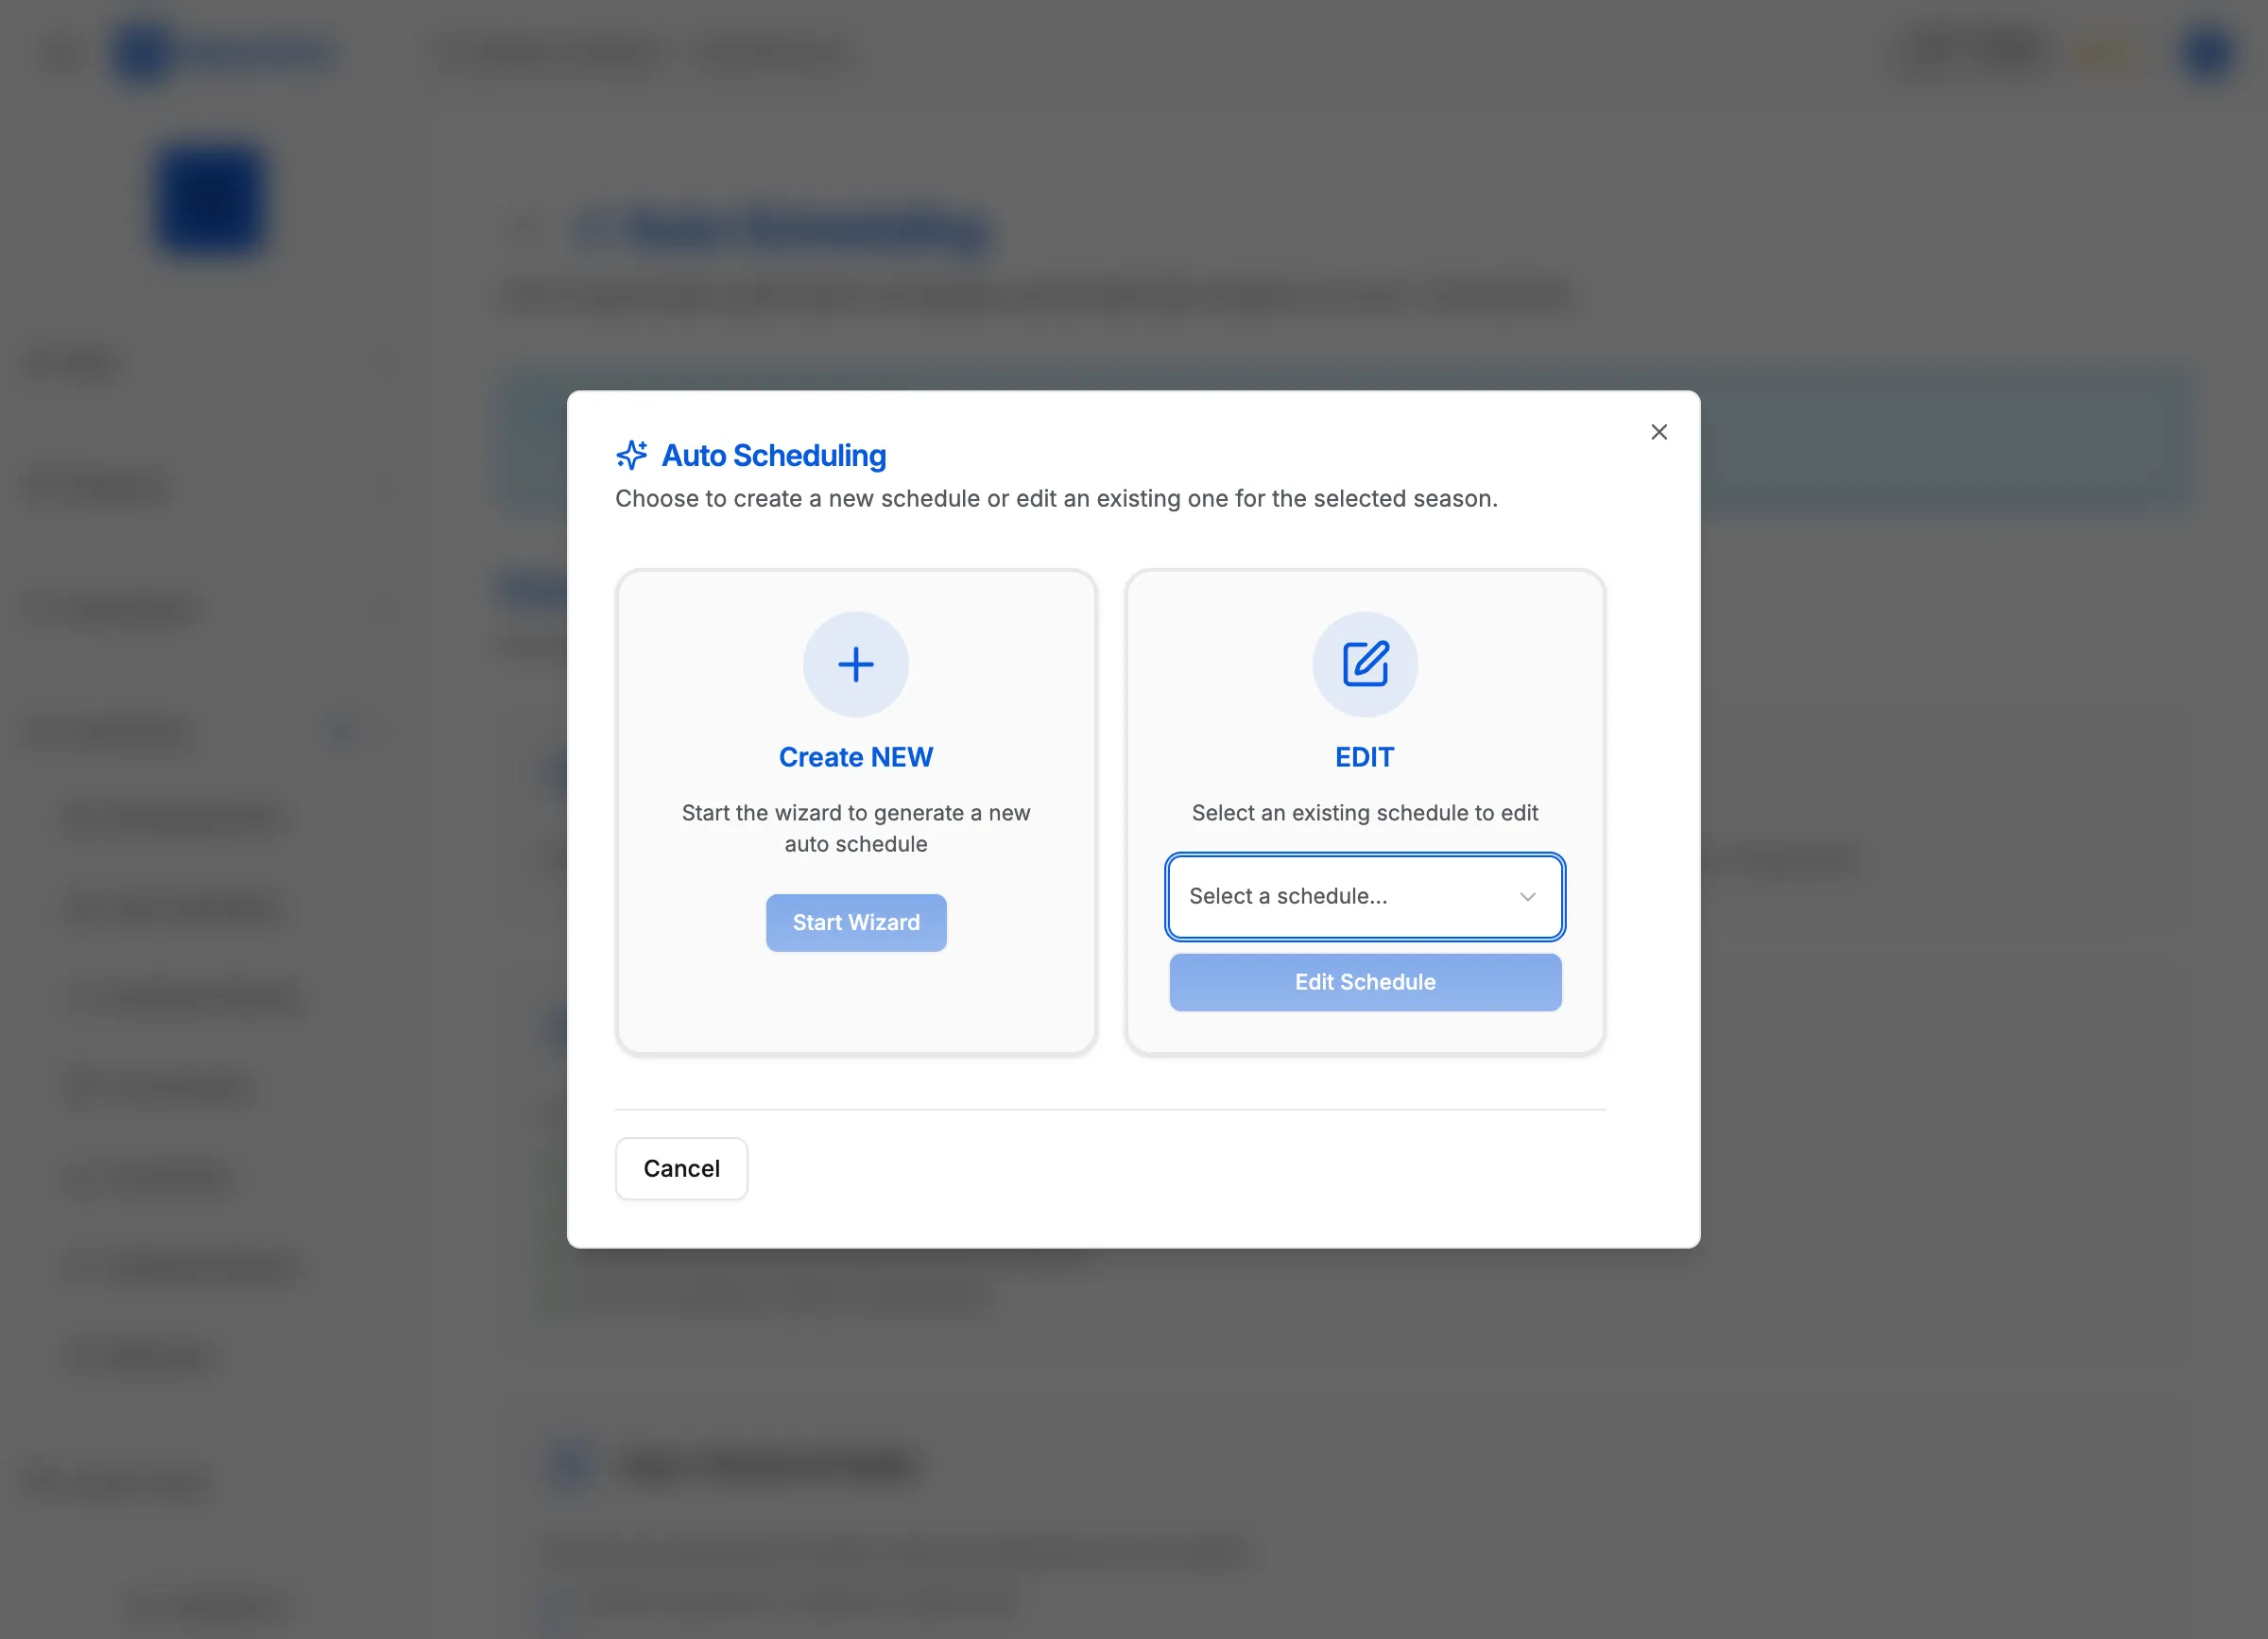
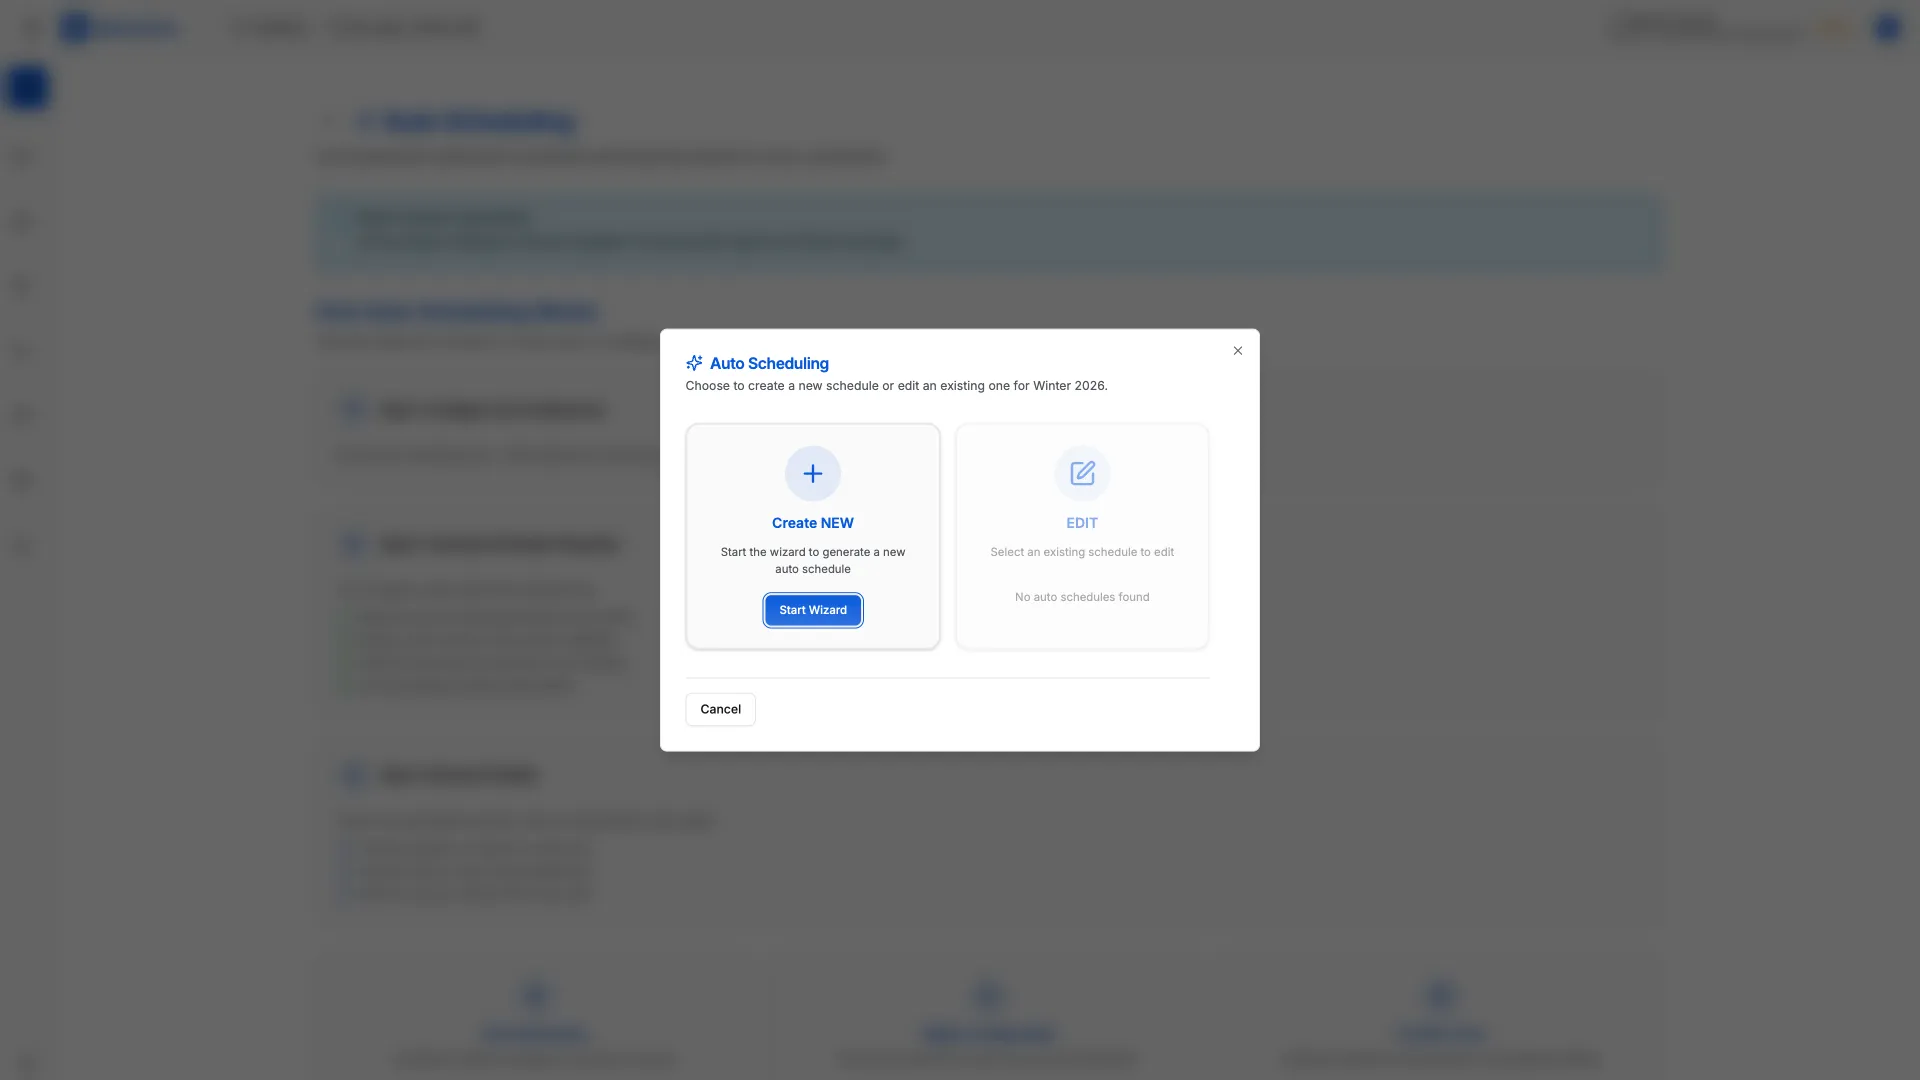
Running the Auto-Scheduler
The auto-scheduler generates an optimized schedule based on your teams, locations, blackouts, and constraints. This article covers how to run it.
Before you run
Confirm your setup is complete:
- At least 2 enrolled teams
- At least 1 location with courts
- Blackout windows configured (optional but recommended)
Steps to run the auto-scheduler
- Click Auto-Schedule in the sidebar (or go to
/auto-schedule) - Click the Season dropdown in the top context bar and select your season
- Click the Division dropdown and select your division (if you have multiple)
- Review the scheduler settings summary displayed on the page
- Click the Generate Proposal button
[!INFO] The scheduler runs in the background and typically completes in 30-90 seconds. You can continue using MatchGrid while it runs.
Understanding the results
When the scheduler finishes, you’ll see:
- Feasibility Score — percentage of constraints satisfied (95%+ is excellent)
- Conflict Summary — any remaining issues to review
- Proposed Events — the generated schedule
Applying the schedule
- Review the proposed events displayed in the calendar view
- Click the checkbox next to any events you want to exclude to deselect them
- Click the Apply Selected Events button at the bottom
Events are created in draft status. You can still edit them before publishing.
[!TIP] If the scheduler can’t find a feasible schedule, try relaxing your constraints — add more available time slots, increase travel limits, or reduce blackout days.
What’s next
After applying the schedule, review any remaining conflicts — see Reviewing Schedule Conflicts.