Reviewing Schedule Conflicts
After generating or editing a schedule, review conflicts to ensure your schedule is valid before publishing.
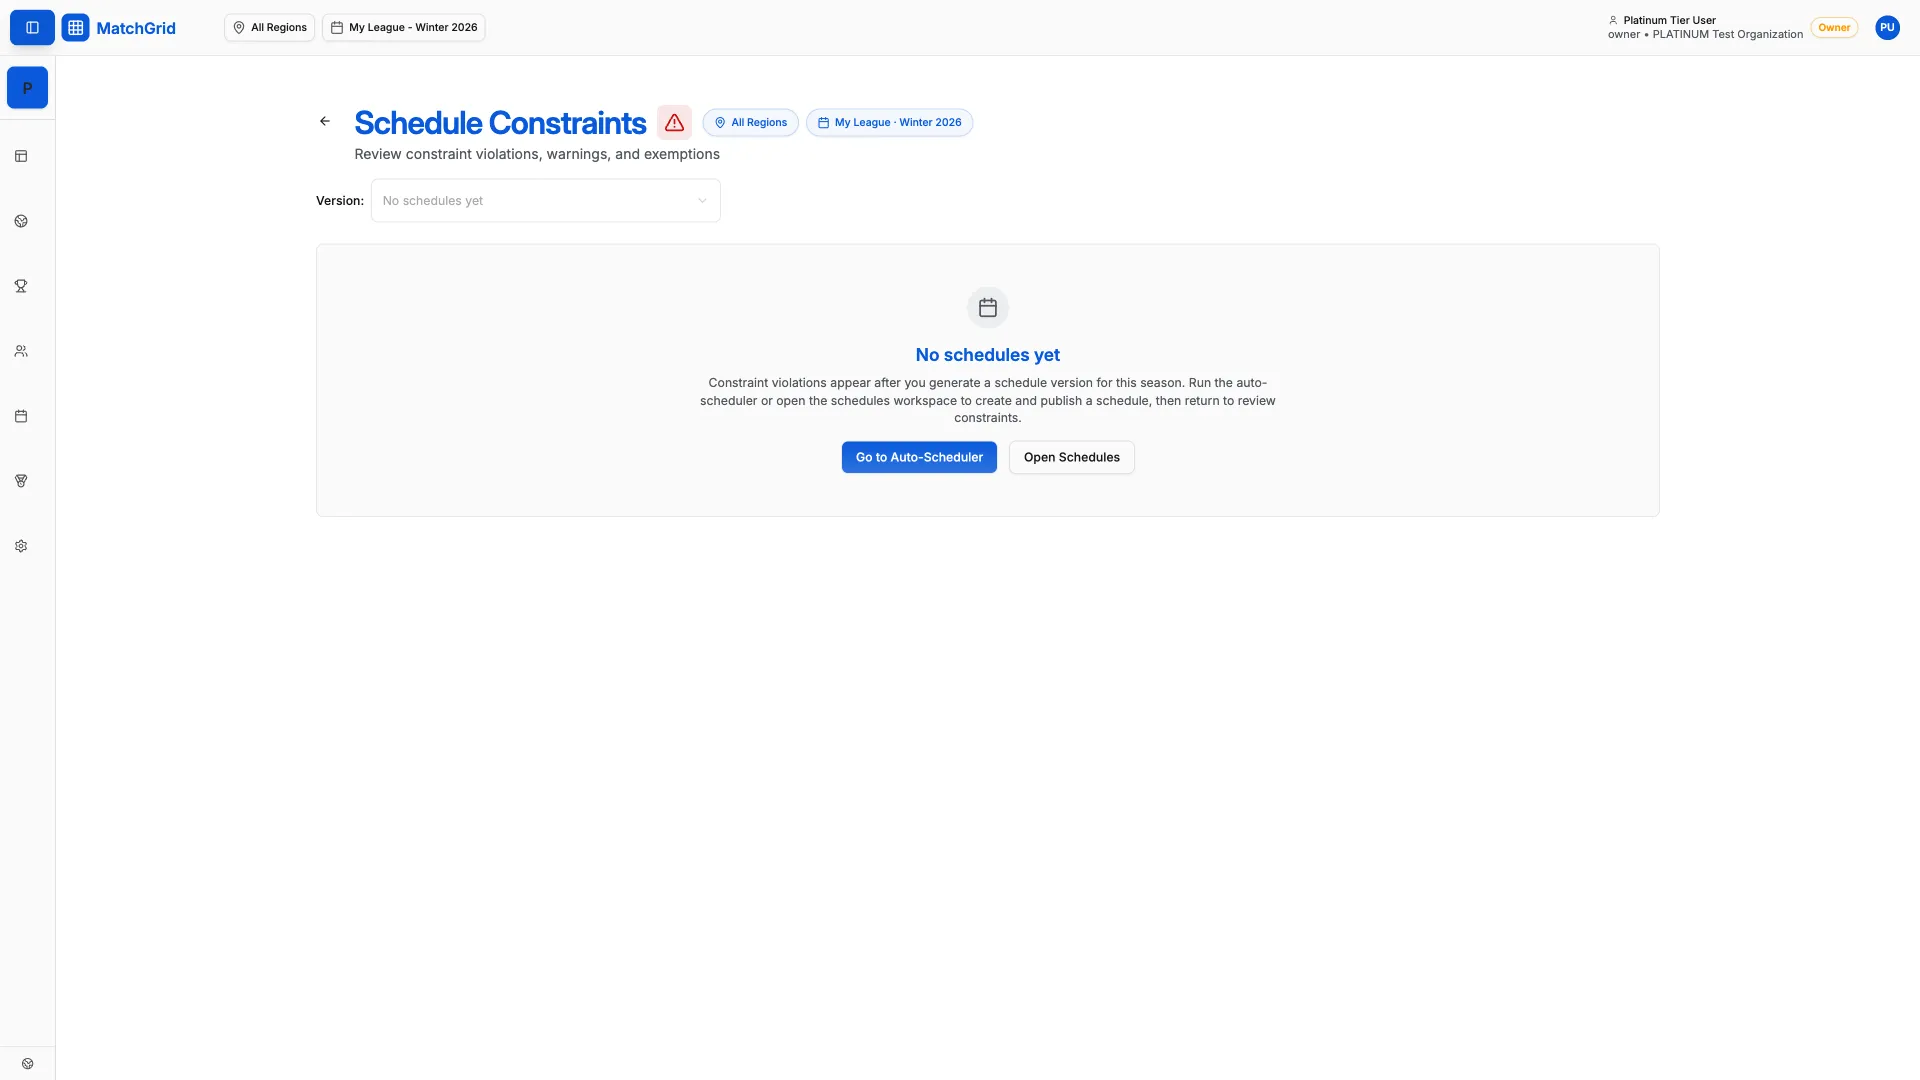
Steps to view conflicts
- Click Constraints in the sidebar (or go to
/constraints) - Click the Conflicts tab to see hard violations (default view)
- Or click Warnings tab for soft conflicts
- Or click Exemptions tab for acknowledged conflicts
- Click any conflict row in the list to open the details panel
Understanding conflict indicators
Conflicts appear with colored indicators:
- Red — Hard conflict (must resolve before publishing)
- Court double-booking
- Team double-booking
- Hard blackout violation
- Yellow — Soft conflict (warning, can proceed)
- Soft blackout violation
- Travel limit exceeded
- Late game time
[!WARNING] You cannot publish a schedule with unresolved hard conflicts. Red indicators must be fixed first.
Filtering conflicts
Use the filters at the top of the Constraints page:
- Click the Filter dropdown
- Select filters by:
- Team — show conflicts for a specific team
- Location — show conflicts at a specific venue
- Severity — show only hard or soft conflicts
- Click Apply
[!TIP] If you have many conflicts, filter by team to work through them one team at a time.
What’s next
Once you’ve reviewed conflicts, fix them by editing events — see Resolving Conflicts in the troubleshooting section.