Setting Your Display Preferences
Display preferences control how dates, times, and distances appear throughout MatchGrid. Set these up to match your location and preferences.
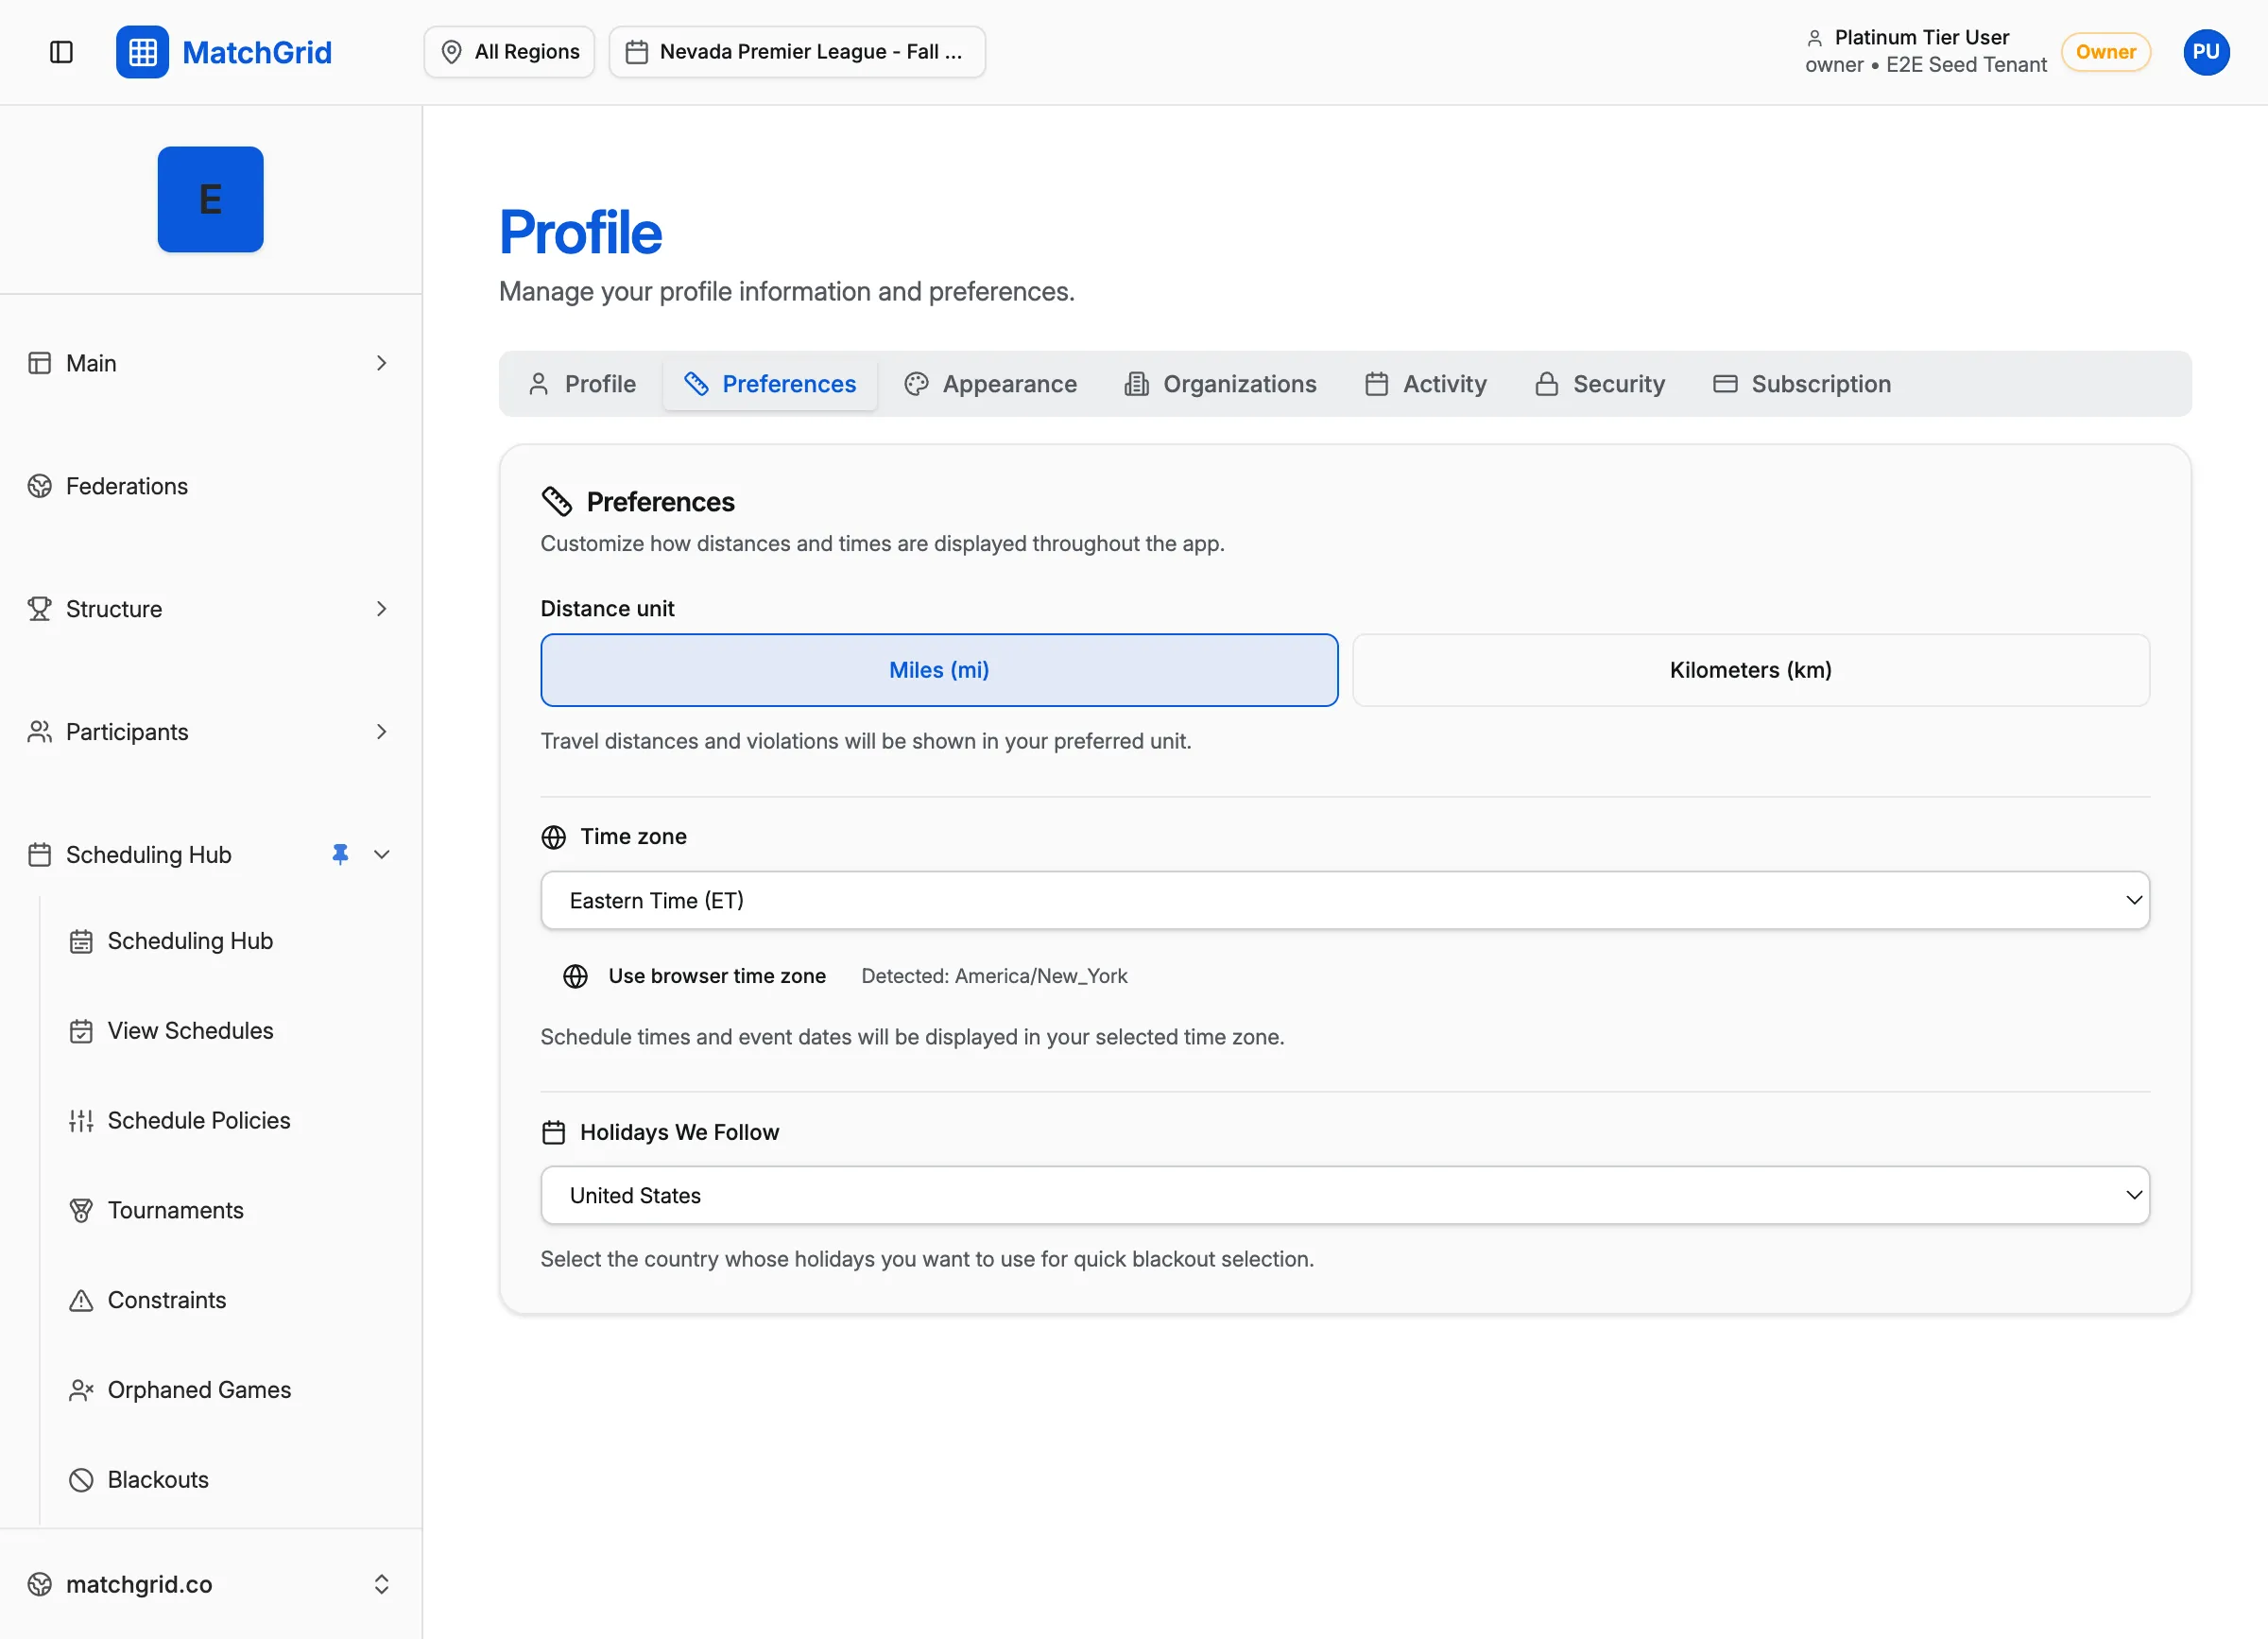
Steps to access preferences
- Click your avatar in the top-right corner of the screen
- Click Profile from the dropdown menu
- Click the Preferences tab
Setting your timezone
- On the Preferences tab, find the Timezone dropdown
- Click the dropdown to open the list
- Search for or scroll to your timezone (e.g., “America/New_York”)
- Select your timezone
- Click Save Changes
[!INFO] MatchGrid auto-detects your browser’s timezone on first login. Change it here if you need a different timezone for scheduling.
Setting distance units
- On the Preferences tab, find the Distance Units option
- Select your preference:
- Miles — for US users
- Kilometers — for international users
- Click Save Changes
Travel distances throughout MatchGrid will display in your chosen unit.
Theme and appearance
For visual customization:
- Click the Appearance tab (next to Preferences)
- Choose your theme:
- Light — bright background
- Dark — dark background
- System — follows your device setting
- Select an Accent Color for highlights
- Changes apply immediately
[!TIP] Dark mode is easier on the eyes for evening scheduling sessions. Use System to automatically switch based on time of day.
What’s next
Your display preferences are set. Return to the dashboard to continue setting up your organization.