Setting Up Your Organization
Before you can start scheduling, MatchGrid needs to understand your organization’s structure. This guide walks you through the initial configuration process.
Choosing Your Terminology Preset
MatchGrid adapts its language to match your sport and organization type. When you first set up, you’ll choose a terminology preset that configures:
- Entity Names: “Schools” vs “Clubs”, “Conferences” vs “Regions”
- Event Names: “Games” vs “Matches” vs “Duals” vs “Meets”
- Venue Names: “Courts” vs “Fields” vs “Mats” vs “Rinks”
- Division Structure: Age groups, weight classes, skill levels, or JV/Varsity
Common Presets
| Preset | Best For | Key Terms |
|---|---|---|
| High School Conference | School athletics, athletic directors | School, Game, Venue, Division |
| Club Age-Based | Youth clubs, travel teams | Club, Match, Location, Age Group |
| Volleyball | Volleyball-specific leagues | Club, Match, Court, Division |
| Wrestling | Wrestling clubs and meets | School, Dual, Mat, Weight Class |
[!TIP] Don’t see a perfect match? Choose the closest preset and customize individual terms later in Settings → Terminology. All labels are fully editable.
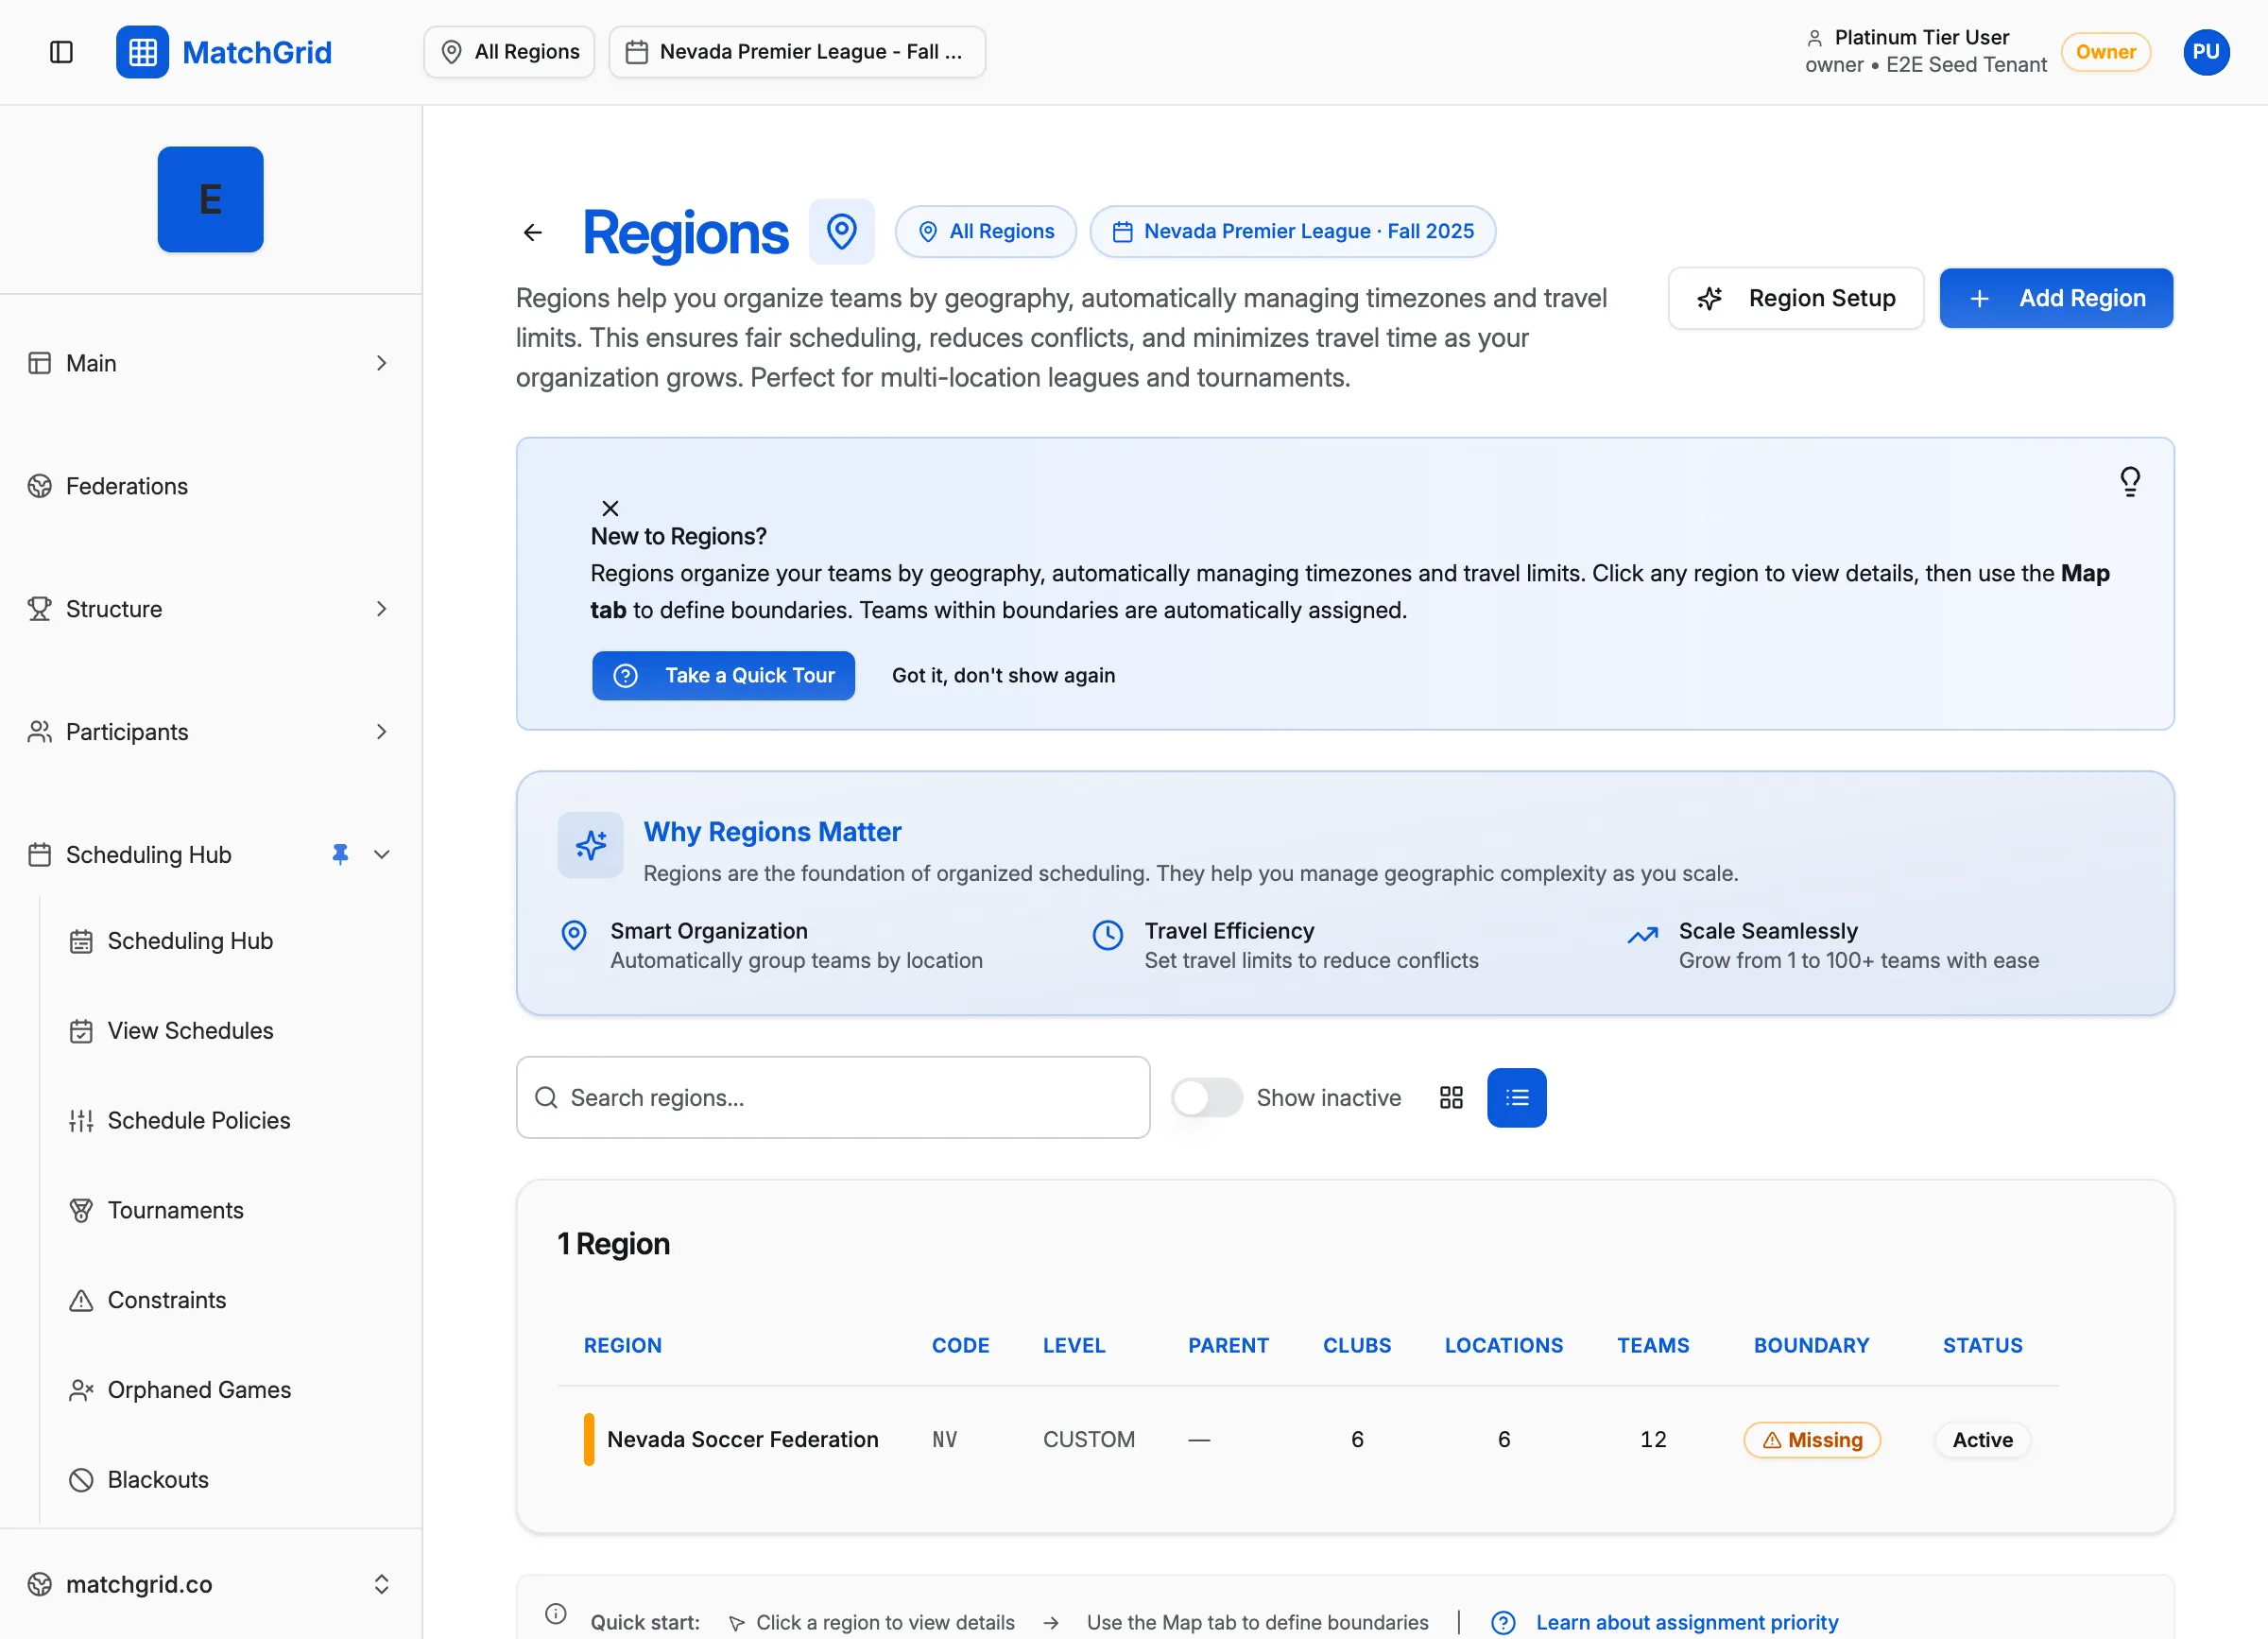
Creating Your First Region
Regions are the top-level organizational unit in MatchGrid. A region might represent:
- A conference (Central Conference, Metro League)
- A geographic area (North District, Bay Area)
- An organization (Your Club Name, Your School District)
To create a region:
- Navigate to Regions in the sidebar
- Click Add Region
- Enter a name and optional boundary (for travel calculations)
- Select a default time zone
Setting Up Your First Season
Seasons define the date range for your schedule. Each season is tied to a region and contains all the teams, events, and schedules for that period.
Season Configuration
When creating a season, you’ll specify:
- Name: e.g., “Fall 2025”, “Spring League 2026”
- Start Date: When the season begins
- End Date: When the season ends
- Match Days: Which days of the week games are typically played
- Default Start Times: Standard game start times for your league
[!WARNING] Make sure your season dates are correct before adding events. Changing dates later can affect existing schedule entries.
Hierarchy Overview
MatchGrid uses a flexible hierarchy that adapts to your preset:
Region (Conference/League)
  └── Season (Fall 2025)
       └── Division (Varsity, JV, Age Groups)
            └── Club/School
                 └── Team
Some levels may be hidden based on your preset. For example, a simple club league might skip divisions entirely, while a high school conference shows Varsity and JV options.
Next Steps
Once your organization is configured:
- Add Teams — Create or import your teams under each club/school
- Add Locations — Set up venues with court counts and availability
- Configure Blackouts — Mark holidays and other off-dates
- Start Scheduling — Use manual or auto-scheduler to build your season
Your terminology and structure settings can always be adjusted in Settings → Terminology.