Creating a Season
A season defines the date range for your schedule. You must create a season before you can enroll teams and generate schedules.
Steps to create a season
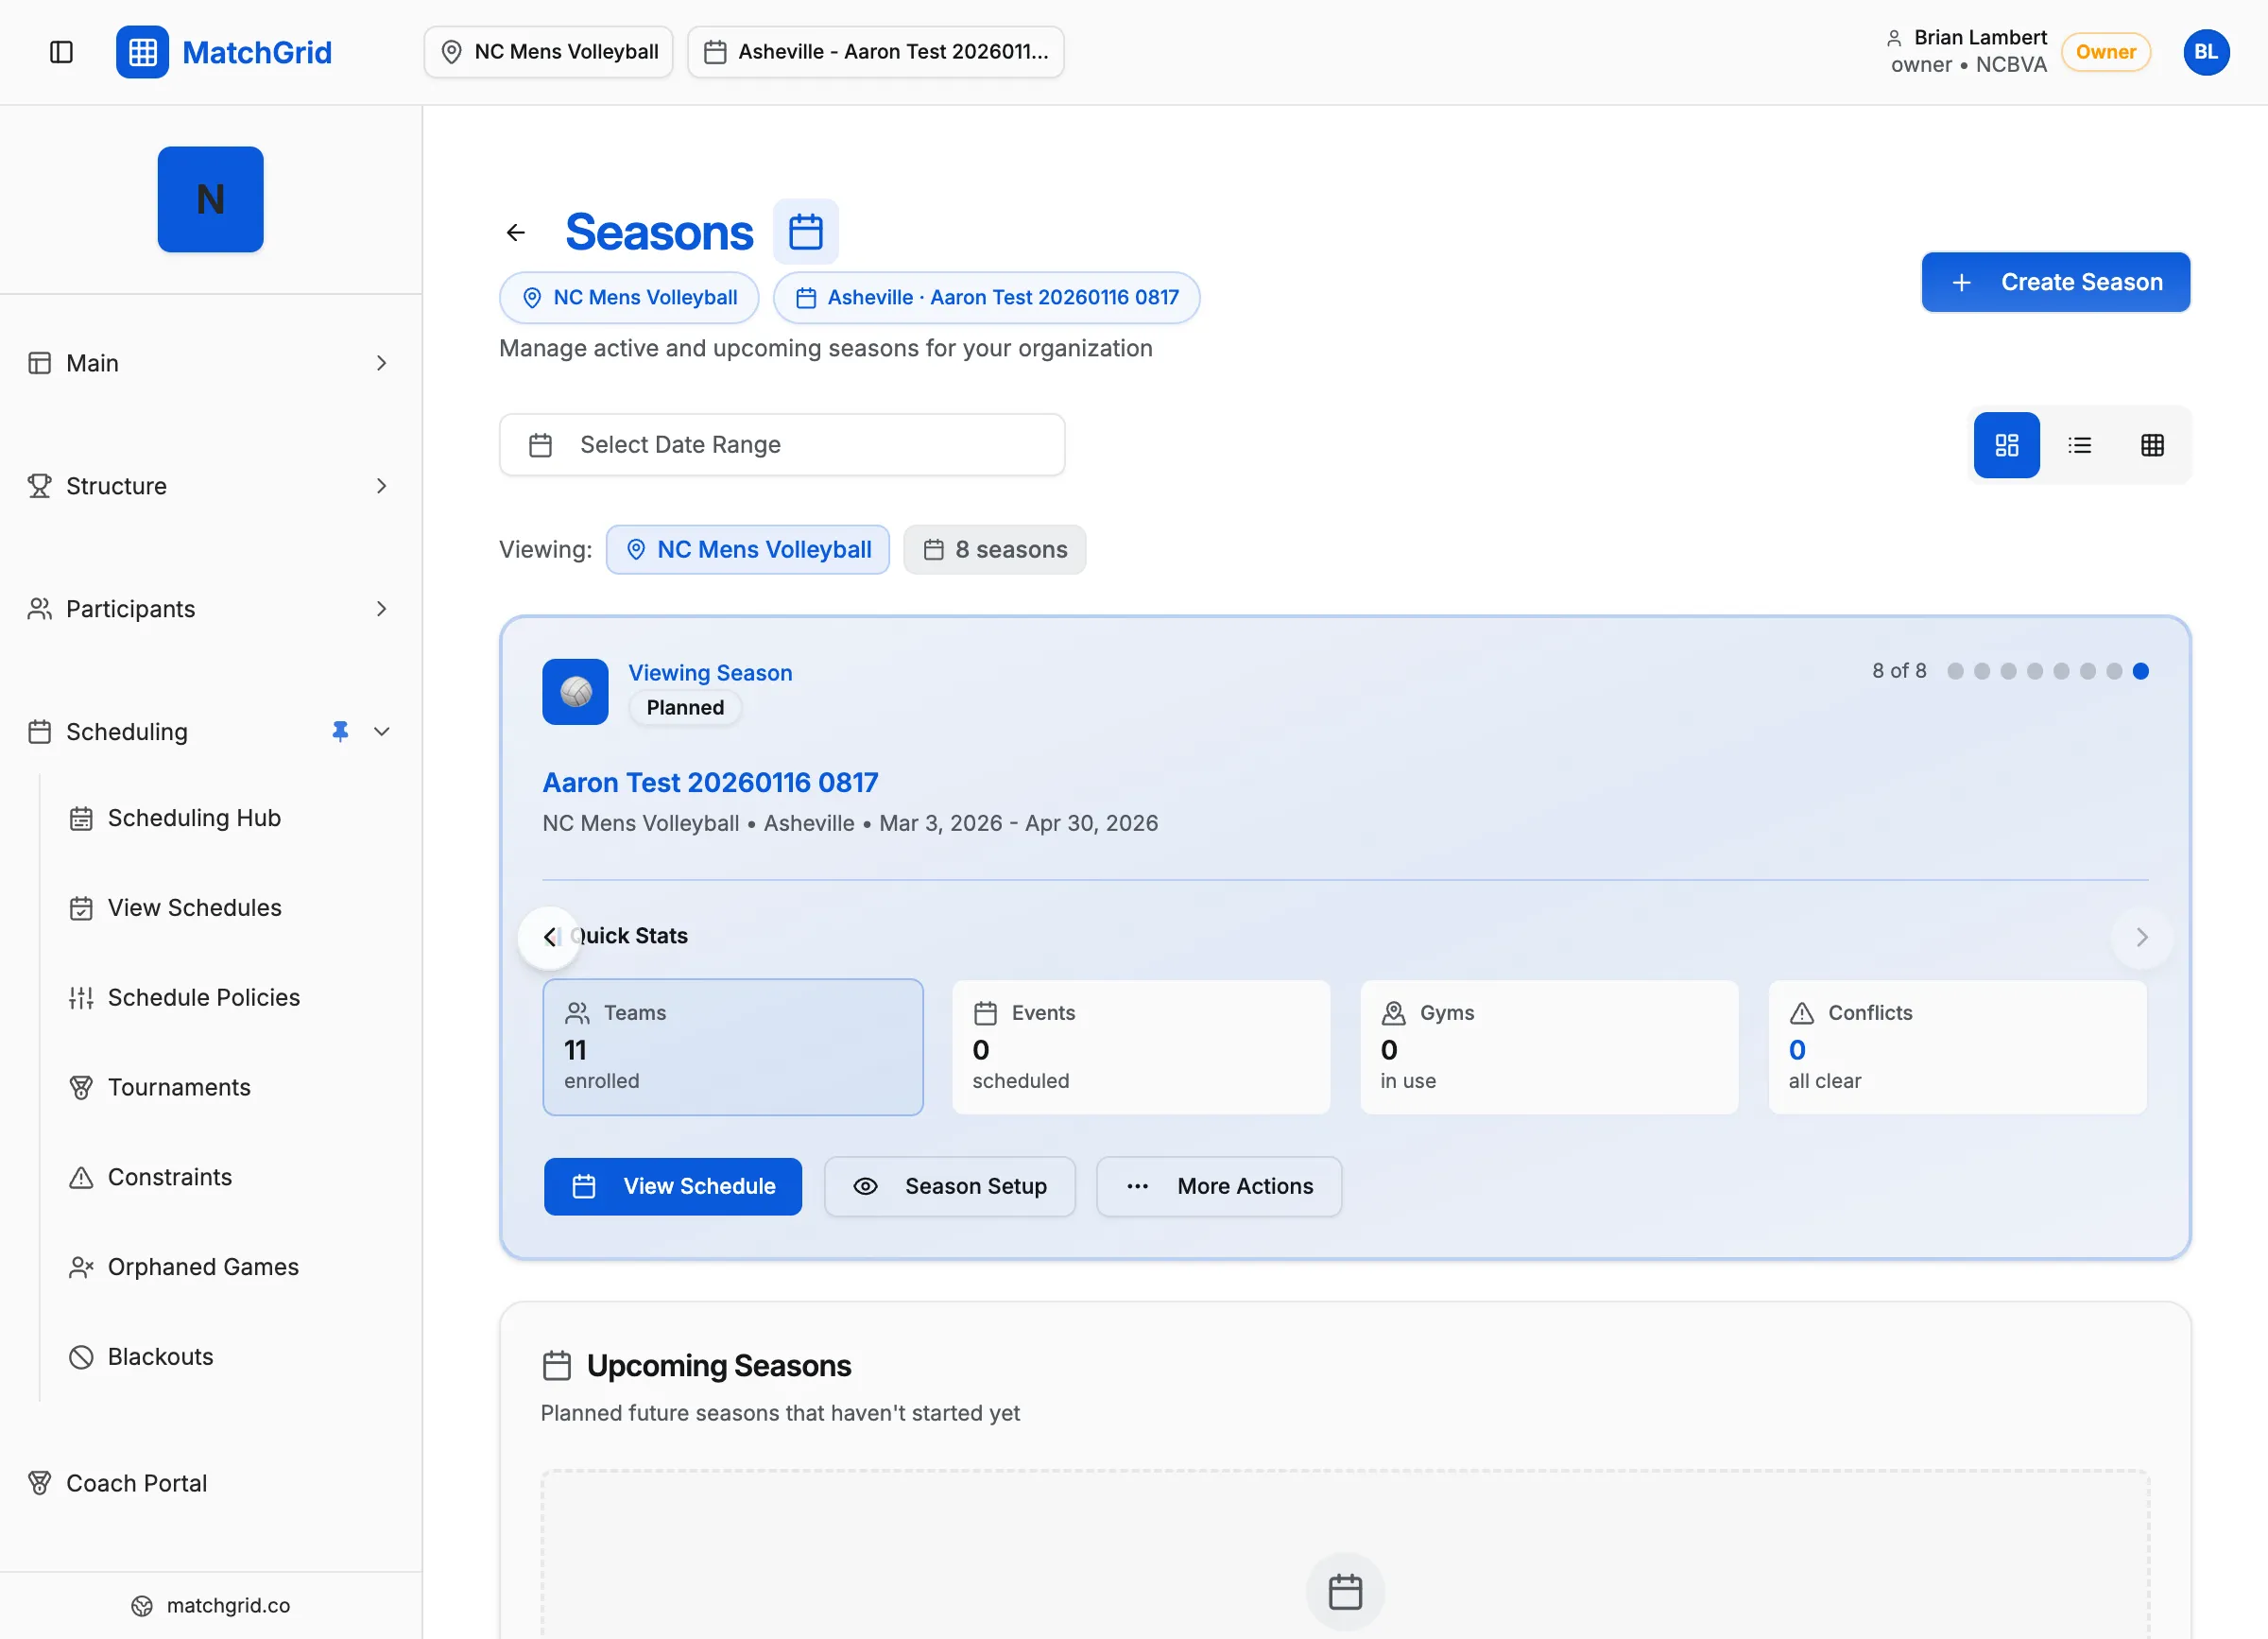
- Click Seasons in the sidebar (or go to
/seasons) - Click Create Season in the top-right corner
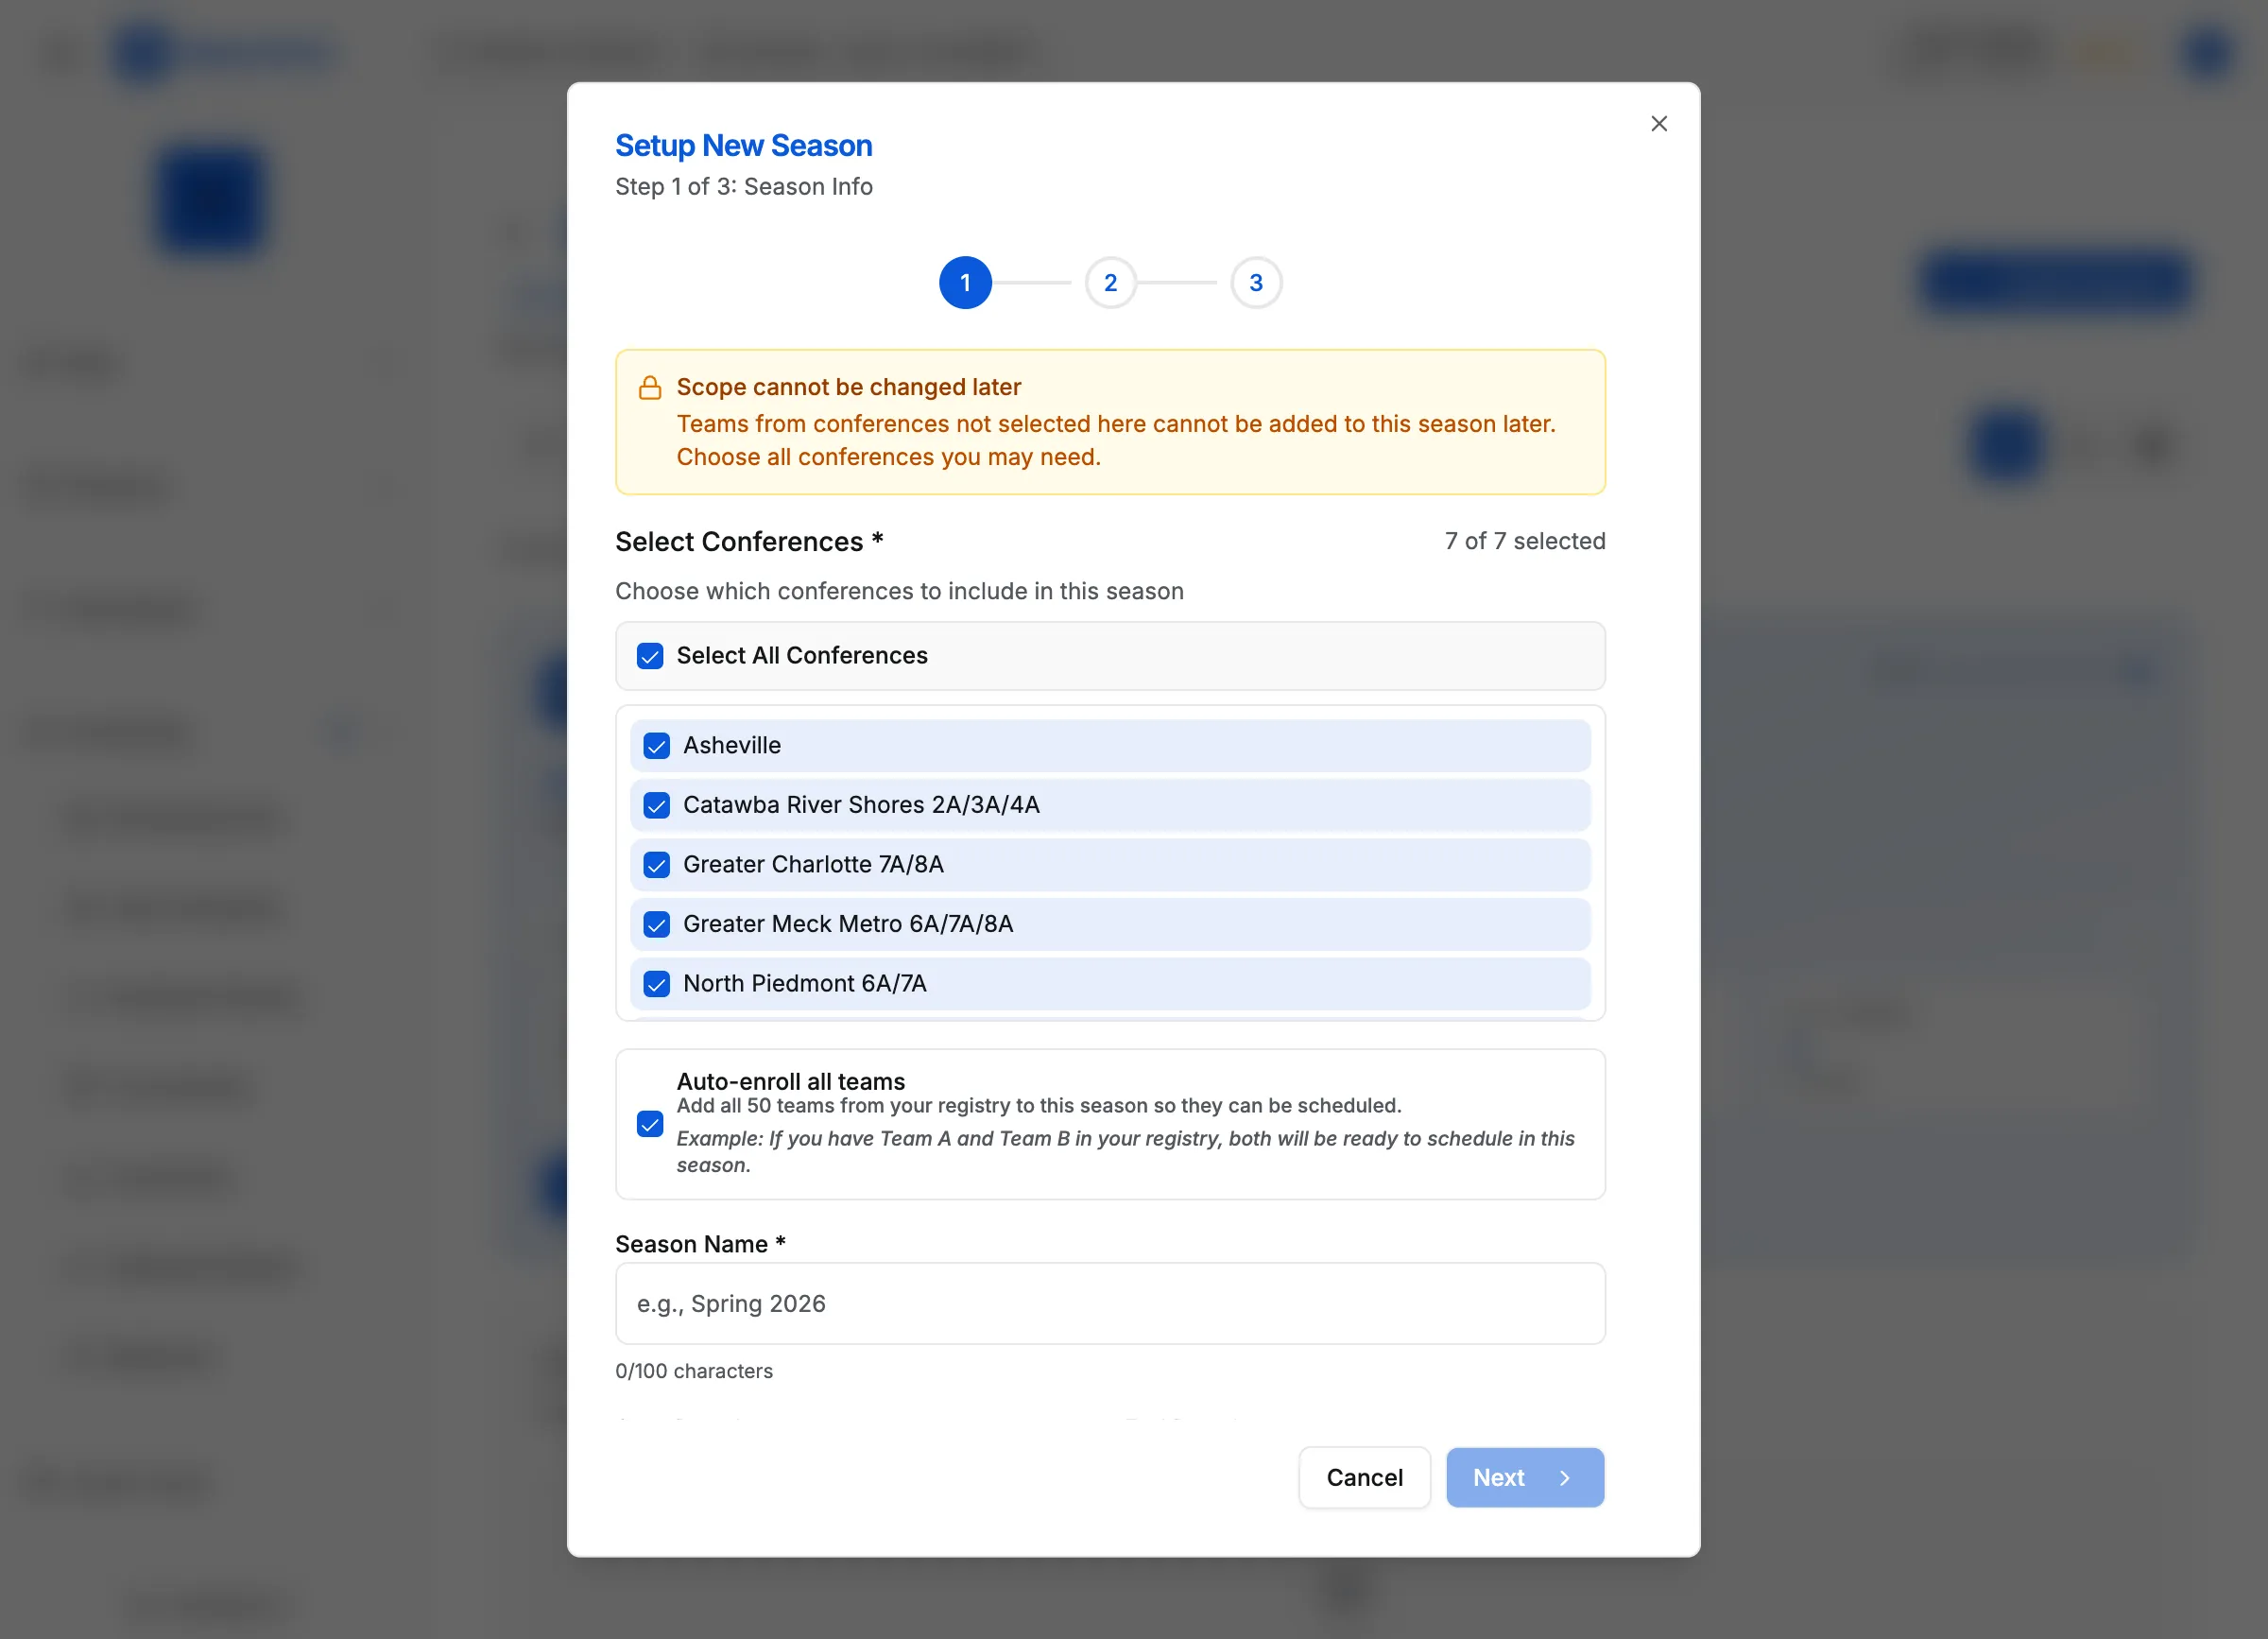
- In the season wizard, fill in the required fields:
- Start Date — when your season begins
- End Date — when your season ends
- Click Next to proceed through any additional steps
- Click Create Season to save
[!TIP] If a warning appears about overlapping dates with another season, you can click Create Season again to proceed anyway.
Carry-forward options (optional)
If you already have previous seasons, the wizard may offer to carry forward:
- Divisions
- Teams
- Blackouts
- Scheduler rules
Keep these options enabled if your new season is similar to the previous one. Turn them off to start fresh.
What’s next
After creating your season, you’ll need to:
- Add teams (see Adding a Team)
- Enroll teams into this season (see Enrolling Teams in a Season)
- Add locations and courts (see Adding a Location)